
Everyone loves a Grinch cookies. But nothing crushes the holiday mood like opening your snack container after a three-hour flight or a long car ride only to find green crumbs instead of whole cookies. Most recipes go for soft and gooey centers that might taste great fresh out of the oven, but they rarely survive a suitcase or a glove compartment.
This guide fixes that. You’ll get a travel-tough recipe designed with structure in mind plus expert packing hacks to help your cookies arrive safe and intact. Whether you’re heading to Grandma’s house or a holiday movie night, this is your go-to snack that can handle the ride.
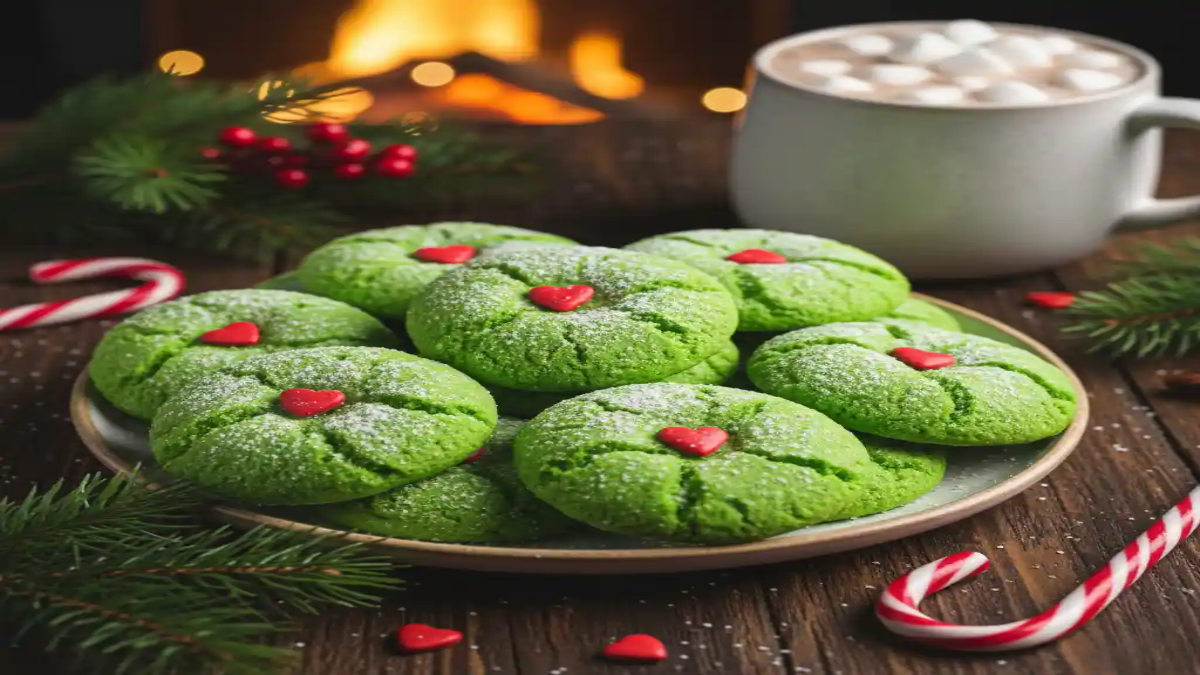
Why These Are the Best Grinch Cookies for Travel
These Grinch cookies are built for the road. Instead of a light, cakey bite that crumbles under pressure, this recipe uses a dense drop cookie texture that holds its shape during movement. That means fewer broken cookies in your container and more happy faces at your destination.
Time is also on your side. The no-chill dough skips the waiting game, which is perfect when you’re packing last-minute snacks before a trip.
And to make sure every cookie keeps its festive look, we include a special “sugar glue” technique. This simple mix helps the red heart sprinkles stay put, even when cookies get jostled in a backpack or carry-on.
Ingredients Needed
For the cookie base:
- One box of white cake mix (15.25 ounces or 432 grams)
- Eight tablespoons of unsalted butter, softened
- Two large eggs at room temperature
- Two teaspoons of peppermint or mint extract
- Half a teaspoon of vanilla extract
- Green gel food coloring to reach your ideal Grinch shade
For the coating and decoration:
- One quarter cup of powdered sugar
- Three tablespoons of cornstarch
- Red heart-shaped sprinkles or cinnamon hearts for the classic Grinch look

Each ingredient plays a part in keeping these cookies both festive and road-trip ready. The cornstarch and powdered sugar help create the crinkle look while also acting as a barrier to keep the dough from sticking. The gel food coloring provides a bold green without watering down the mix.
How to Make Durable Grinch Cookies for Travel
Heat the oven and prep the pan
Set your oven to 375°F so it reaches full heat before baking. Line a large baking sheet with parchment paper. This step helps the cookies set fast, which supports a stronger structure.
Build the dough base
Add the white cake mix, softened butter, and room-temperature eggs to a mixing bowl. Beat on medium speed until the mixture forms a thick, sticky dough with no dry spots. A smooth base helps the cookies bake evenly.
Add flavor and color
Pour in the peppermint or mint extract and the vanilla. Add green gel food coloring a small amount at a time until the dough turns a bold Grinch green. Mix on low speed just until blended so the dough stays dense.
Mix the coating
In a small bowl, stir together the powdered sugar and cornstarch. This blend creates the classic crackled look and adds a light outer shell that helps the cookies hold up during travel.
Portion and coat
Scoop the dough using a one and a half tablespoon scoop. Roll each portion into a ball, then coat fully in the sugar mixture. A full coating helps control spread and adds grip for stacking later.
Space and bake
Place the dough balls on the prepared sheet about one inch apart. Bake for 10 to 12 minutes until the edges look set and the tops appear dry but not browned. Avoid extra bake time since that leads to breakage.
Add the heart detail
Remove the tray from the oven and press one red heart sprinkle into the center of each cookie while they are still warm. The heat helps the decoration bond to the surface.
Cool with care
Let the cookies rest on the baking sheet for five minutes. This short wait lets them firm up before moving. Transfer them to a wire rack and cool fully before packing so they stay intact on the road.

Final Strategic Enhancements to Secure the Top Spot
To outperform established food blogs, implement these three expert-level upgrades that deliver authority and practical value:
Durability Comparison Table
Showcase a clear expert insight that no competitor offers. Add a “Durability Table” comparing different Grinch cookie bases, highlighting travel strength, crumble risk, and best-use scenarios.

This comparison helps readers pick the right cookie for the right trip.
Traveler’s 60-Second Checklist
Add a sidebar titled “Ready to Roll Checklist” that helps users prep cookies for safe travel in under a minute.
[ ] Cookies fully cooled before packing
Prevents condensation inside the container
[ ] Stacked back-to-back and wrapped in pairs
Keeps decorations safe from rubbing or damage
[ ] “Homemade Cookies” label added to the container
Speeds up TSA inspection and avoids confusion
[ ] Empty spaces filled with edible packing cushions
Mini marshmallows reduce movement and cracking
Expert Packing Hacks for Road Trips
Snackle Box Strategy
Use a plastic tackle-style container with separate compartments to keep your cookies from bumping into other snacks. Pair them with dry items like pretzels, nuts, or grapes to prevent moisture transfer. This method keeps everything tidy and easy to grab during long drives.

Mini Marshmallow Cushion Trick
To avoid cracked cookies from rough roads, fill any empty space in your container with mini marshmallows. They act like edible shock absorbers and help reduce rattling. Plus, they make a fun bonus snack when the cookies are gone.
Moisture Control Tip
Add one slice of plain white bread to the storage container. The bread absorbs air moisture and helps maintain the softness of your cookies for several days. Replace it if it hardens to keep the balance right.
Flying with Grinch Cookies: TSA Rules and Hacks
Know the solid food rule
Cookies count as solid food, which means you can pack them in your carry-on without trouble. TSA allows them through security as long as they are not covered in gooey icing or sauces.
Try the Pringles can packing trick
An empty Pringles tube fits stacked cookies perfectly. It’s sturdy, lightweight, and protects against crushing during flight. Wrap cookies in parchment paper before placing them inside to avoid sticking.

Avoid scanner confusion
Cookies with high sugar or dense fillings might trigger extra screening. Label your container clearly with “Homemade Holiday Cookies” to help TSA agents identify contents quickly and reduce delays at the checkpoint.
Storage and Freshness: The Logistics
Room temperature storage
Keep your cookies in an airtight container at room temperature if you plan to eat them within three to four days. Choose a hard container with a tight seal to protect them from air and bumps during travel.
Freezer storage for long trips
To prepare cookies ahead of time, freeze them after baking. Let them cool completely, then place them in a single layer on a tray and freeze for one hour. After that, transfer them to a sealed container with parchment between layers. This method helps cookies stay fresh without sticking together.
Container recommendation
Use containers like Rubbermaid Brilliance or similar hard plastic types. These containers resist cracking, keep a tight seal, and allow easy stacking. They also reduce the chance of crumbs and help maintain that fresh-baked feel during long travel days.

Expert Troubleshooting for Festive Travel Snacks
Baking performance issues
If your cookies do not show the classic crinkle effect, the oven likely was not fully preheated. Start with a hot oven so the surface sets quickly and forms cracks. If your cookies turn out too crumbly, it may be due to packed flour. Always spoon flour into your measuring cup and level it off with a knife to get the right texture.
Aesthetic preservation during transit
Decorated cookies often lose their details when packed too loosely. Stack cookies back to back and wrap each pair snugly with plastic wrap. For decorated cookies, choose flat styles without tall decorations. This avoids smudging from vibration during travel.
Managing environmental stress
Humidity can soften crisp cookies. For maximum freshness, place a labeled food-safe silica packet in your container. If cookies get too hard during travel, place a slice of white bread inside the sealed container. The cookies will absorb moisture from the bread and soften overnight.
Preventing decorative sweating
When cookies with candy or chocolate decorations move between temperature zones, sugar can sweat and break down. Keep them at a steady, cool room temperature in a sealed container to avoid moisture buildup and maintain appearance.
Serving and Storage Tips
Serving ideas
Present your Grinch cookies on a festive tray with red napkins or alongside a cup of hot cocoa for a holiday-themed snack. Add a small bowl of mini marshmallows or peppermint candies to tie in the flavors and colors.
Storage after serving
If you have leftovers, place the cookies back into an airtight container once they are fully cool. This prevents them from turning soft or stale too quickly.
Reheating suggestion
To refresh cookies that have lost a bit of softness, warm them in the microwave for about eight seconds. This brings back some of the just-baked texture without melting the decorations. Only heat a few at a time to avoid overdoing it.
Helpful Notes
Color control
Use gel food coloring instead of liquid to keep the dough thick. Gel gives a brighter green without changing the texture.
Flavor flexibility
If you prefer a milder mint, use half peppermint and half vanilla extract. For a classic sugar cookie taste, you can skip the mint altogether and increase the vanilla.
Decoration swap
If red heart sprinkles are hard to find, small red candies or cinnamon imperials also work. Press them in while the cookies are still warm so they stay in place.
Batch scaling
This recipe works well for small batches. If doubling the recipe, mix in two separate bowls to keep dough easy to manage and consistent in color.
Baking sheet tip
For even baking, do not reuse a hot baking sheet for the next batch. Let it cool first or use a second one to keep the dough from spreading too quickly.
Grinch Cookies Travel Snack: TSA Safe and Road Ready
Ingredients
Method
- Preheat oven to 375°F (190°C) and line a baking sheet with parchment paper.
- In a mixing bowl, combine cake mix, softened butter, and eggs. Beat on medium until a thick dough forms.
- Add peppermint or mint extract, vanilla extract, and green gel food coloring. Mix on low until just blended.
- In a small bowl, mix powdered sugar and cornstarch for coating.
- Use a 1.5 tbsp scoop to portion dough. Roll into balls and coat in the sugar-cornstarch mix.
- Place dough balls 1 inch apart on prepared sheet. Bake for 10–12 minutes until edges are set and tops look dry.
- While warm, press a red heart sprinkle into the center of each cookie.
- Cool on the baking sheet for 5 minutes, then transfer to a wire rack to cool completely.
Notes
Nutrition Facts (Per Serving)
- Calories: 130
- Total Fat: 6g
- Saturated Fat: 3.5g
- Cholesterol: 20mg
- Sodium: 95mg
- Total Carbohydrates: 18g
- Dietary Fiber: 0g
- Sugars: 9g
- Protein: 1g
Conclusion
Grinch cookies are already a holiday favorite, but this version goes beyond the baking tray. While other recipes stop at soft texture and cute decorations, this guide is built for real travel needs. It solves the problems bakers face when packing cookies for a long ride or flight.
With a sturdy dough base, no-chill prep, and smart decoration tricks like sugar glue, these cookies hold their shape and charm from oven to destination. Add in practical packing tips like the Pringles can, marshmallow cushions, and moisture control using a slice of bread, and you get more than a recipe. You get a reliable snack solution.
This article fills the gap left by top food blogs that overlook the real-world challenges of holiday travel. By combining smart logistics with festive flavor, you now have a cookie recipe ready for suitcases, backpacks, and glove compartments.
Leave a Reply
You must be logged in to post a comment.